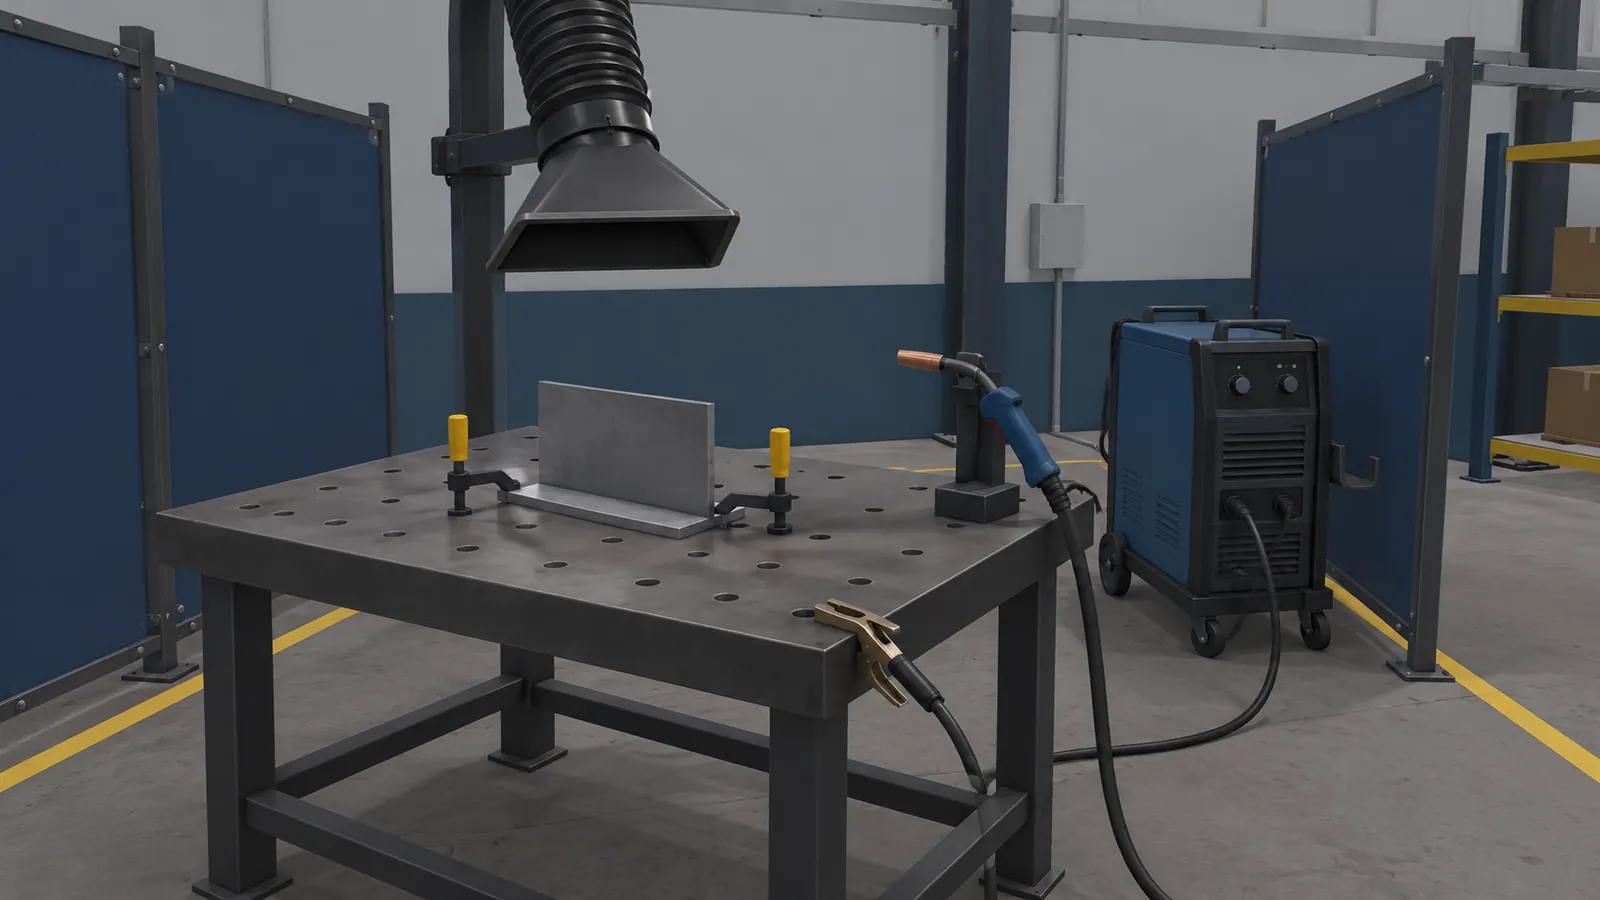
Start with feedback the learner can use
A score alone does not tell a learner what to adjust. During practice, feedback can show that the torch angle has changed, the movement is too fast or the distance from the workpiece is outside the exercise’s target.
In the PC VR simulator built for Kampuh Welding School, readouts appear above the workpiece for work angle, travel angle, aim divergence, speed and arc length. The torch, plate and feedback are visible together, so the learner can see what the movement is doing.
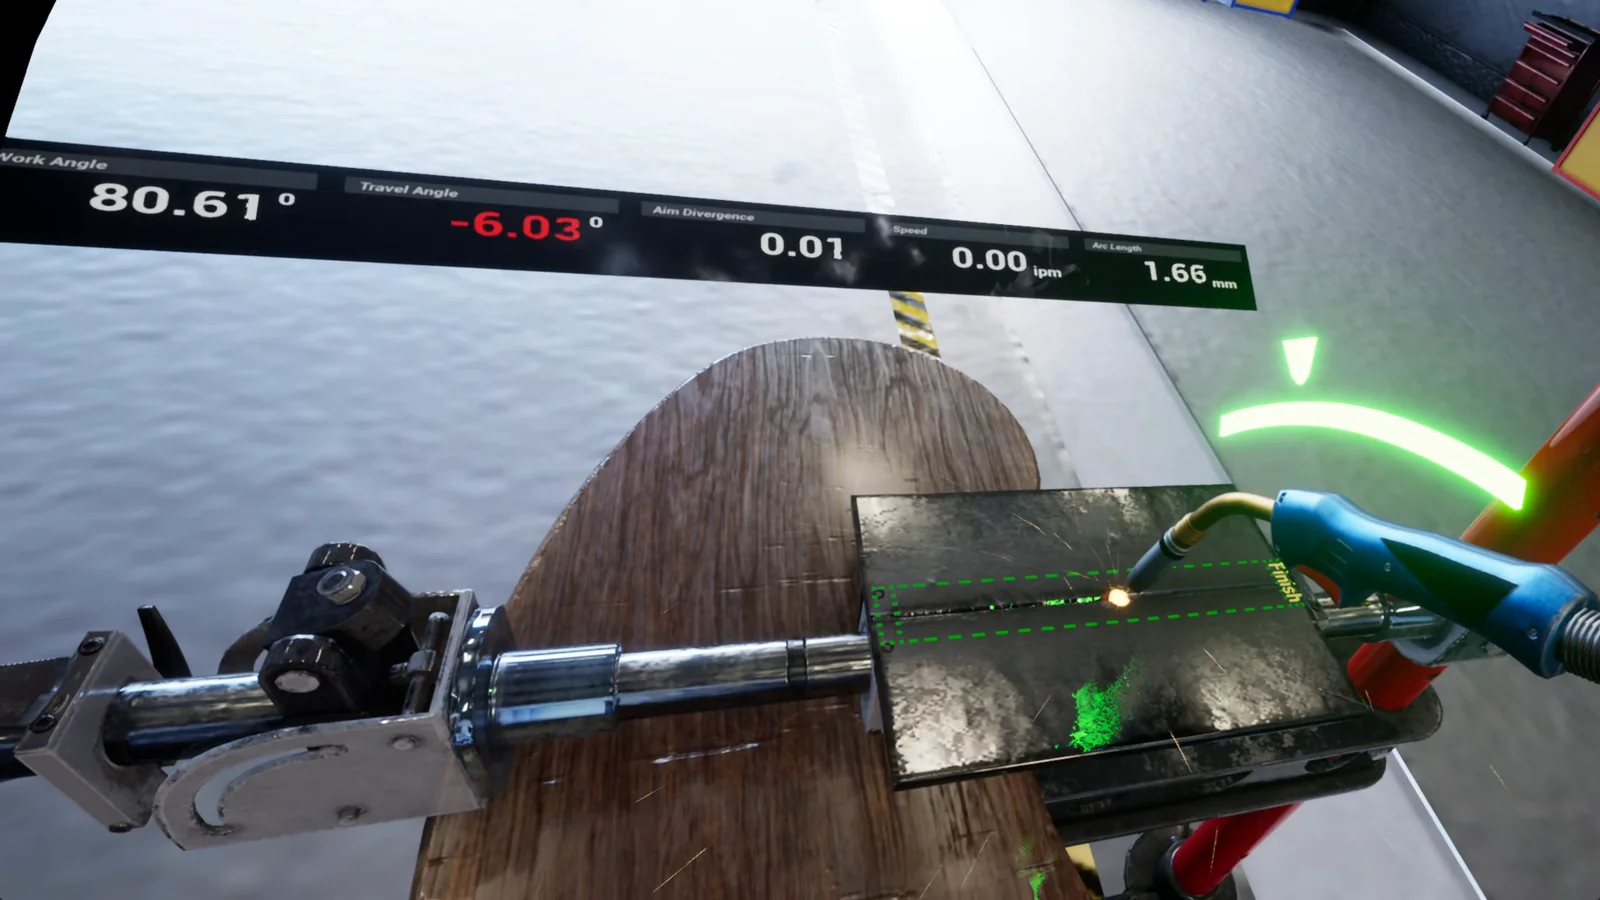
The project scores parameters including angle, speed, material and welder type. View the welding project for its platform, setup and Faisal’s role.
Choose the lesson before the equipment
“Welding training” could mean an introduction for new starters, repeated technique practice, preparation for a particular process or an instructor-led demonstration. Those uses need different exercises. Name the learner group and the part of your existing course where the simulator would sit.
Ask your instructor to specify the process, workpiece, joint and position the first exercise should represent. They should also define what feedback is useful and the acceptable range for each measure. The settings for one exercise should not quietly become the standard for every weld.
If you are considering an off-the-shelf simulator, compare its supported exercises with that list. A custom application is worth discussing when the lesson, equipment setup or teaching workflow needs behaviour the available package does not provide.
Keep live welding in the training plan
Virtual practice lets a learner repeat a simulated movement without striking a live arc for that attempt. It can also give the instructor a shared view of the exercise. The workshop is still where the learner works with real equipment, material and weld results.
The physical setup matters. A handheld controller and a purpose-made torch can feel quite different. Ask what the trainee actually holds and how its weight, grip and movement compare with your teaching equipment. Heat, contact and other physical cues depend on the hardware. A visual simulation alone does not provide them.
Plan a handoff from simulator practice to supervised work in the booth. Have the instructor check whether the learner can apply the technique there. Treat a simulator score as a record of that exercise, not as welding certification or a substitute for a practical assessment.
What to ask during a simulator demonstration
- Can we see the exercise our learners would use? A polished general demo may not cover your process or training objective.
- What changes when the learner makes a mistake? Ask to see the feedback during the weld and the result afterwards.
- Can the instructor explain the score? The recorded measures and their limits should be clear enough to discuss with a learner.
- What is included in one training station? Clarify the headset, computer, controls, space and any physical props.
- How does a learner repeat the exercise? Watch the reset, setup and instructor handoff as well as the weld itself.
If results need to go into your learning system, ask how the simulator will send them there. Local feedback does not automatically include a company dashboard or a learning-system connection.
Evaluate it with your instructors and trainees
Choose a small exercise your instructors can judge confidently. Ask them to review the feedback, then observe learners using it. Can learners understand a correction and act on it without someone translating the interface?
Use the supervised workshop check you already trust to see whether the practice helps. Record teaching time, assistance needed and the practical observations that matter to your programme. Use those observations to assess any learning gains or savings. A general vendor percentage may not describe your programme.